

Today we have no doubt the CUTEST DIY you’ve ever laid eyes on…a floral dog collar for your pup! We know many of you have fur babies of your own and want to include them in your wedding day (if you are looking for ideas on how to include your dog in your wedding, we got you covered there as well!). The perfect way to give your pup their own flair is to make a custom dog collar for them! We’re dyingggg. Thanks so much to Alison Fleck with Bloom Culture who is sharing how she made hers! She will be sharing a few more DIYs with us this year, so be sure to check back soon – we are so excited to see what else she is going to help you guys DIY for your day! Here’s what she had to say about this project…
“I’m sure you’ve seen them; the wedding photos with the most precious furry ring bearer wearing an adorable ring of flowers around their neck. The pooch is often the Bride and Groom’s first fur (my terminology for your first animal together). As a florist, I’ve made these collars or wreaths a time or two and have perfected my technique to not only be safer for our fur babies, but a LOT easier to make and put on!
As with most floral pieces, you can go hard on this or you can go home! JK, you can make it as elaborate or as delicate as you please. Use this DIY tutorial to ensure your pup is the best-dressed member of your bridal party.”
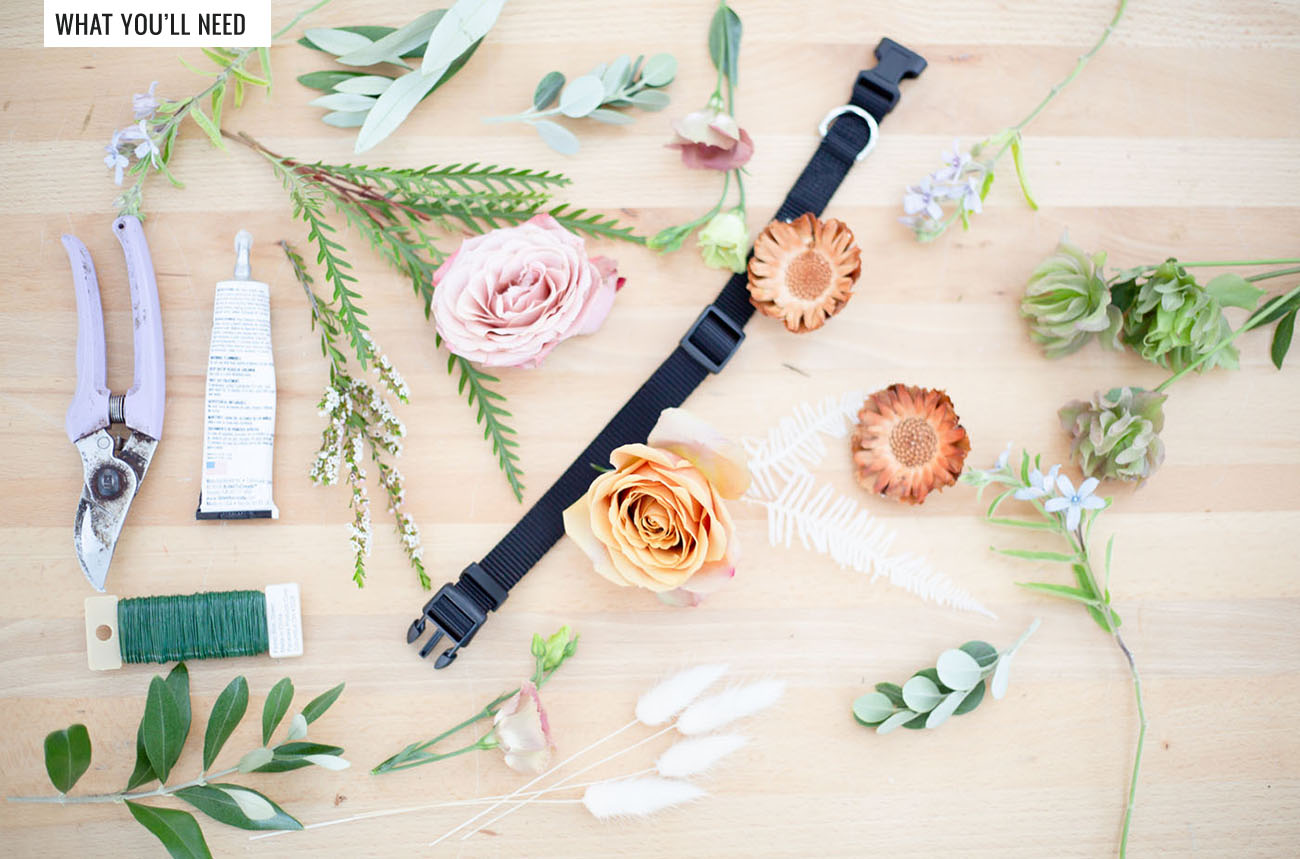

What You’ll Need:
• Dog Collar (I got this one off of Amazon)
• Snips
• Floral Adhesive
• Floral Wire
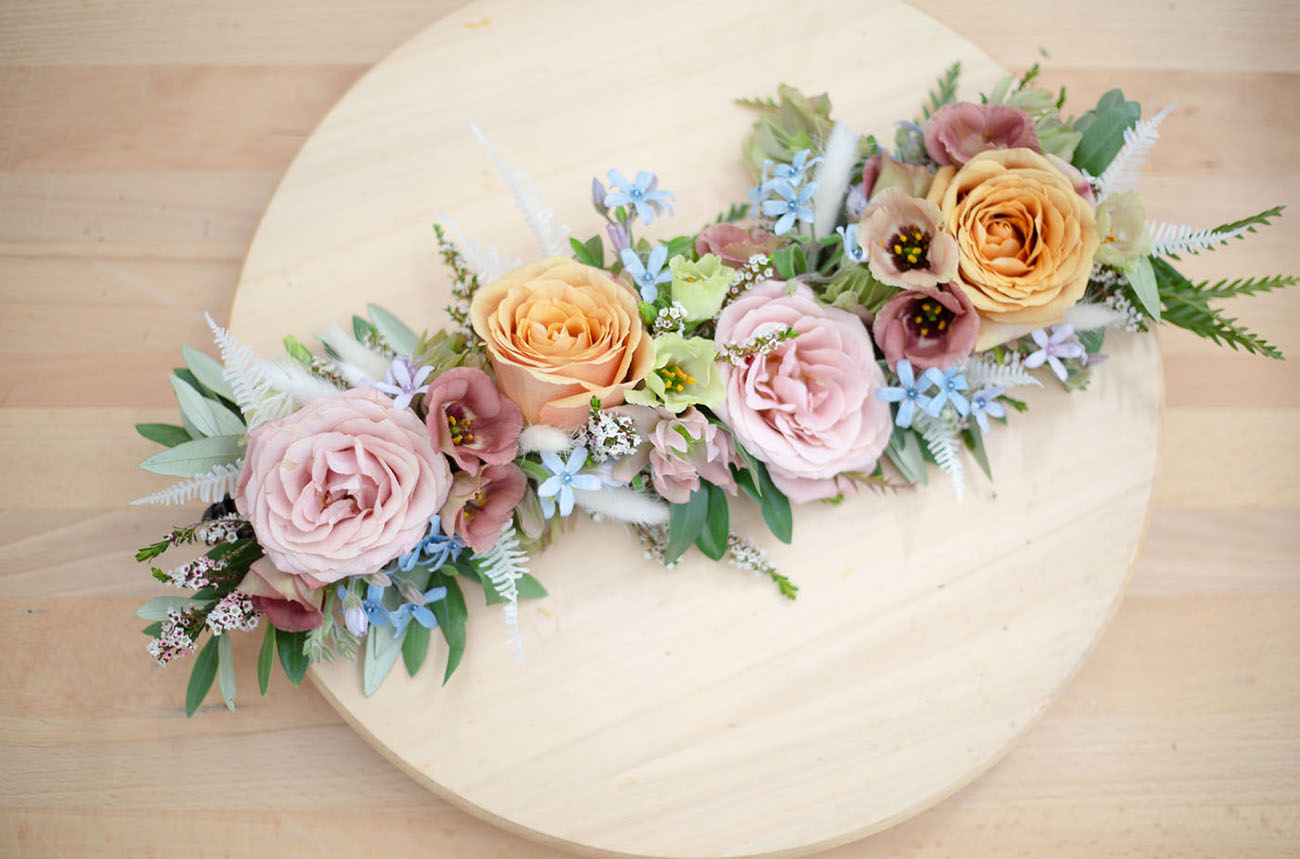
Flowers Used:
Grevillea, Olive Branch tips, Bleached Bunny Tail Grass, Bleached Palm Fern
2 x Golden Mustard Roses
2 x Cappuccino Roses
2-3 x Stems Roseanne Brown Lisianthus
2-3 x Stems Helleborus
2-3 x Stems Blue Tweedia
1 x Stem Calcynia (seasonal availability July – September. Try Waxflower as a substitute.)
Note: You could also use faux florals if you prefer.

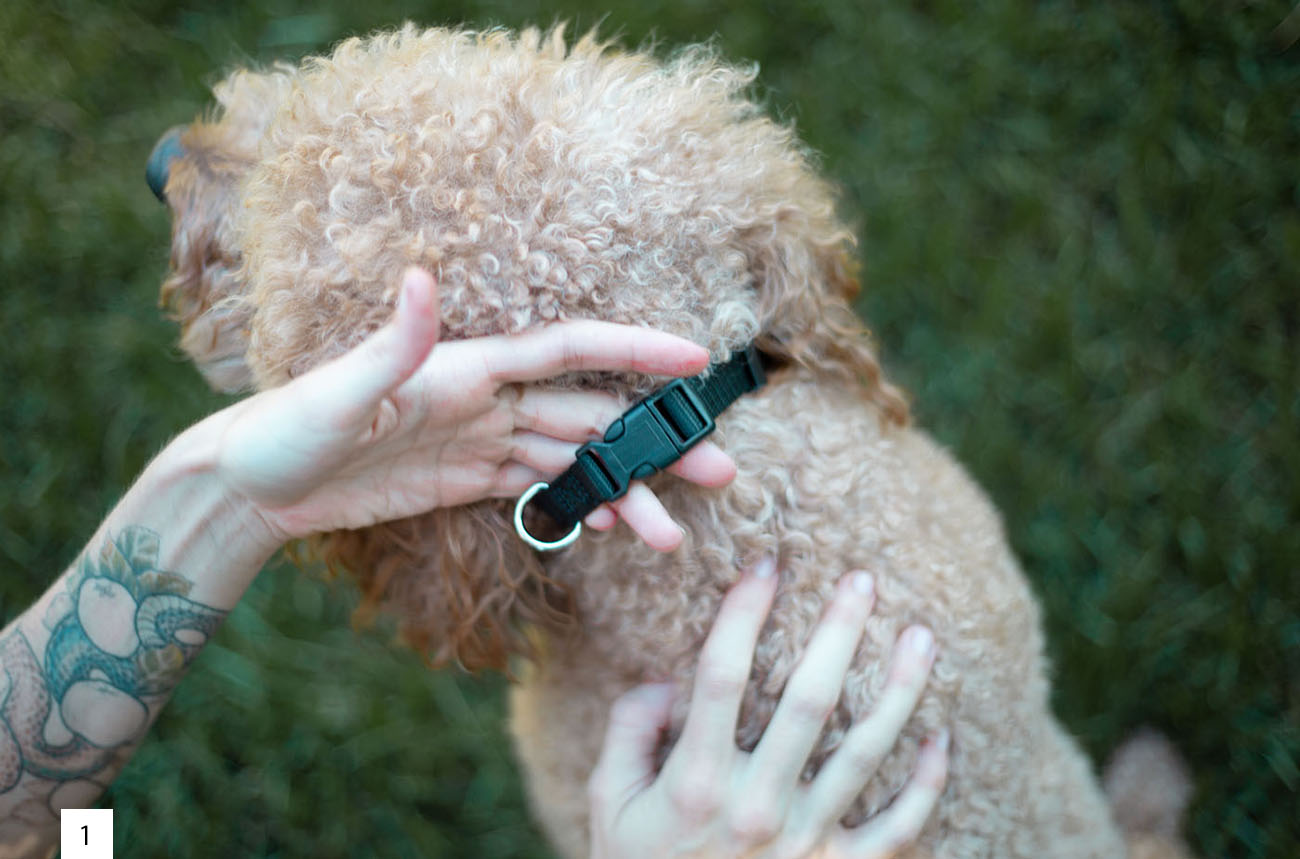
Step 1: Find an inexpensive dog collar that is the appropriate size for you pup. Make sure it fits well and that you can fit your hand between the collar and the dog’s neck. You don’t want it to be too loose or too tight, so adjust accordingly. By the time you add the florals on to the collar it will become quite a bit tighter, which is why we recommend starting with a bit of extra room.

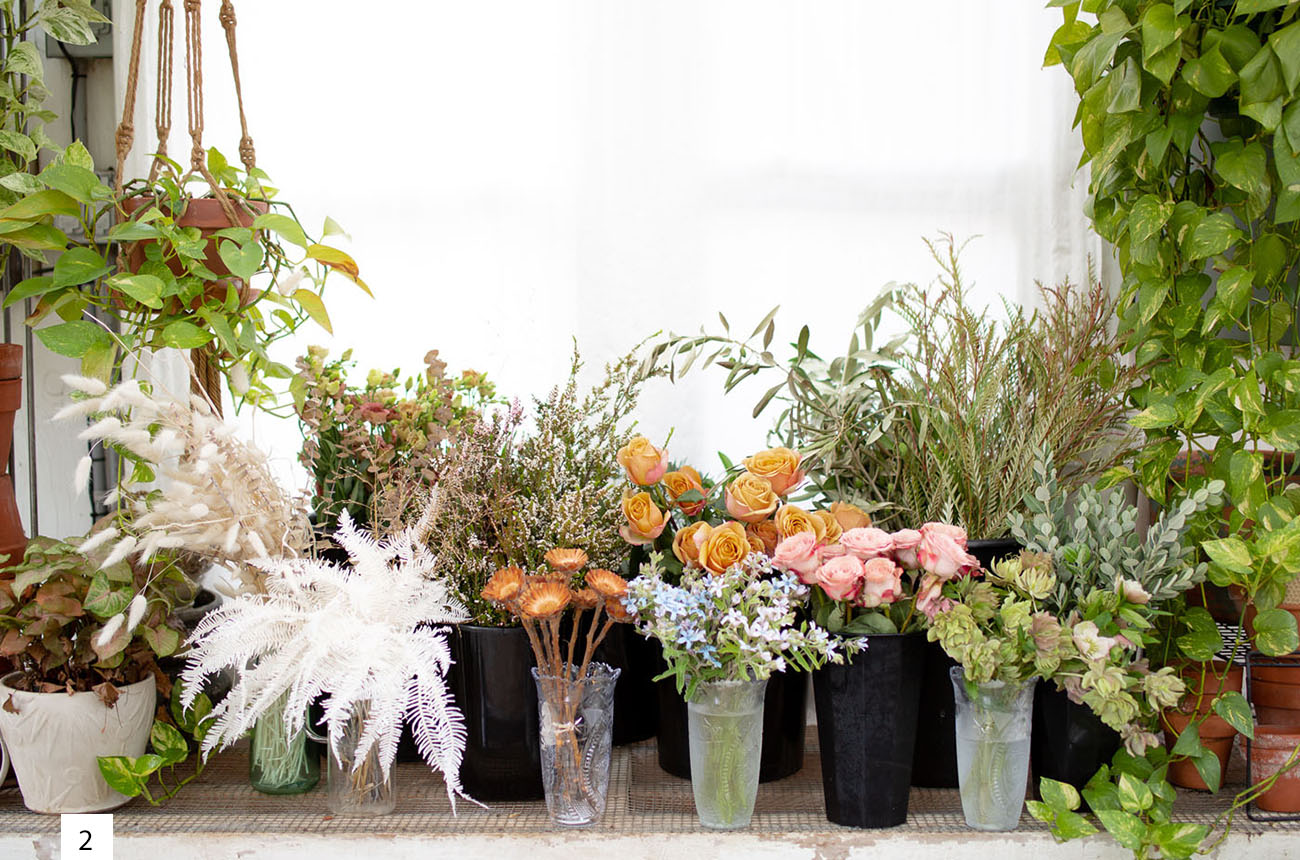
Step 2: Set up your work area and gather your supplies. In this tutorial I used cold glue, aka floral adhesive, and it can get a bit messy. I like to use an old piece of cardboard, or place something like newspaper over your workspace, for easy clean up. Prep your flowers and greenery, faux or fresh. (In this tutorial we are using fresh flowers, but you can use either.) Pick out your favorite blooms and clean off any unwanted leaves or petals that look less than stellar. Snip the greenery into smaller, more manageable-sized stems.


Step 3: Lay the collar flat on your workspace making sure the correct side is facing up. You don’t want to accidentally adorn the underside of the collar…speaking from experience! Lay a thick line of glue on about 2 inches of the collar. (In this approach I work on the collar in sections so things don’t get too messy.) The glue is a bit runny out of the gate, so go slowly here. While you are giving the glue a few minutes to set on the collar, you can prep your flowers/greenery with glue. To do this, trim the greenery and cut the stems down to a manageable/appropriate size for the collar.
A note about floral adhesive: Hot glue can burn the floral product and make it wilt, so we recommend using cold clue, or “floral adhesive”. It’s also more flexible and more forgiving with the flowers and greenery which is great for a collar that needs to bend.
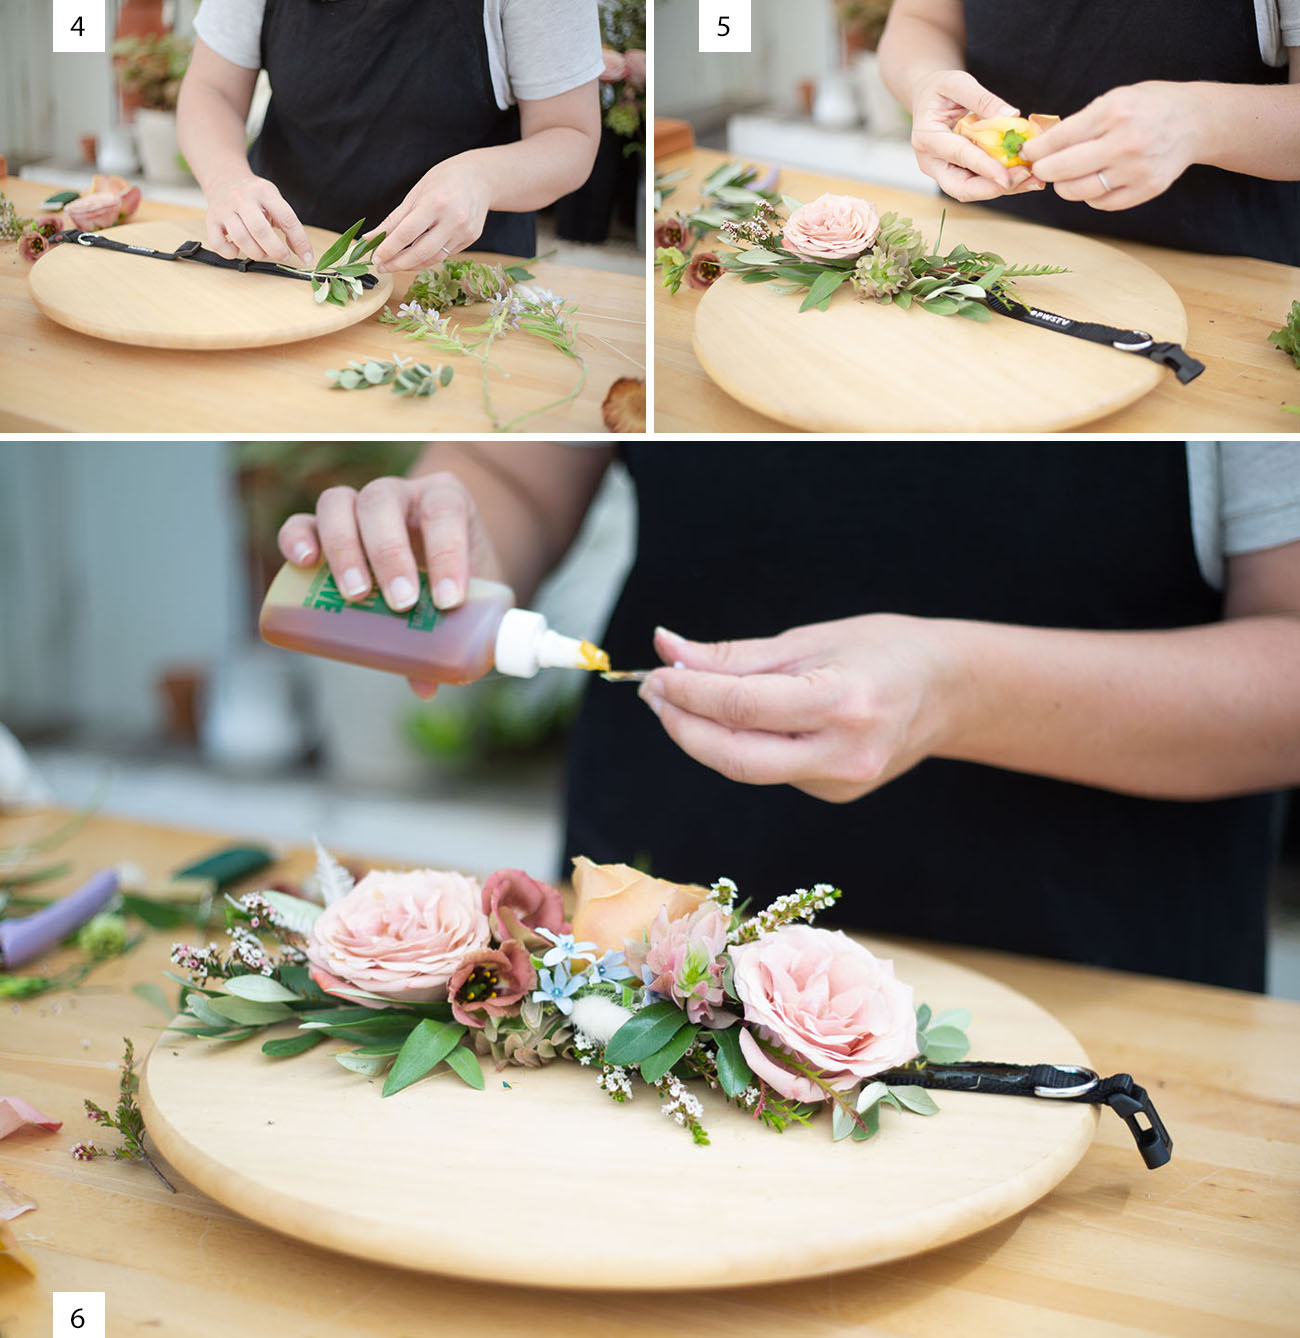

Step 4: You’re going to start applying the greenery first. Give the stems a light line of glue, let it set up for a few seconds, and then place a few stems down as a foundation.
Step 5: Next you’ll add your larger blooms on top of the greenery. With bigger blooms like roses/focal flowers you’ll want to wire them first.
To wire them, cut the rose as close to the base of the bloom (also known as the calyx) as possible and thread the wire through the base. Do this twice to make an X. Next you will secure the wire from the rose around the collar, making sure the bloom is in the location you want it. You will likely be wiring over a bit of glue and that’s okay. You want the glue to adhere to other detail/filler pieces.
Step 6: After you wire in your focal flower, start to fill in around it with your medium blooms like the lisianthus and helleborus. Again, think in layers. Big, to medium, to small/filler flowers. After you place the medium blooms, fill in with filler flowers.
Once you finish the first section, start the process over again and continue. You can wire in as many blooms as you like. Play with the design that best fits your aesthetic. Here I’ve distributed the larger blooms along the collar to make it feel full and even, but you do you! And also do what you have time for.

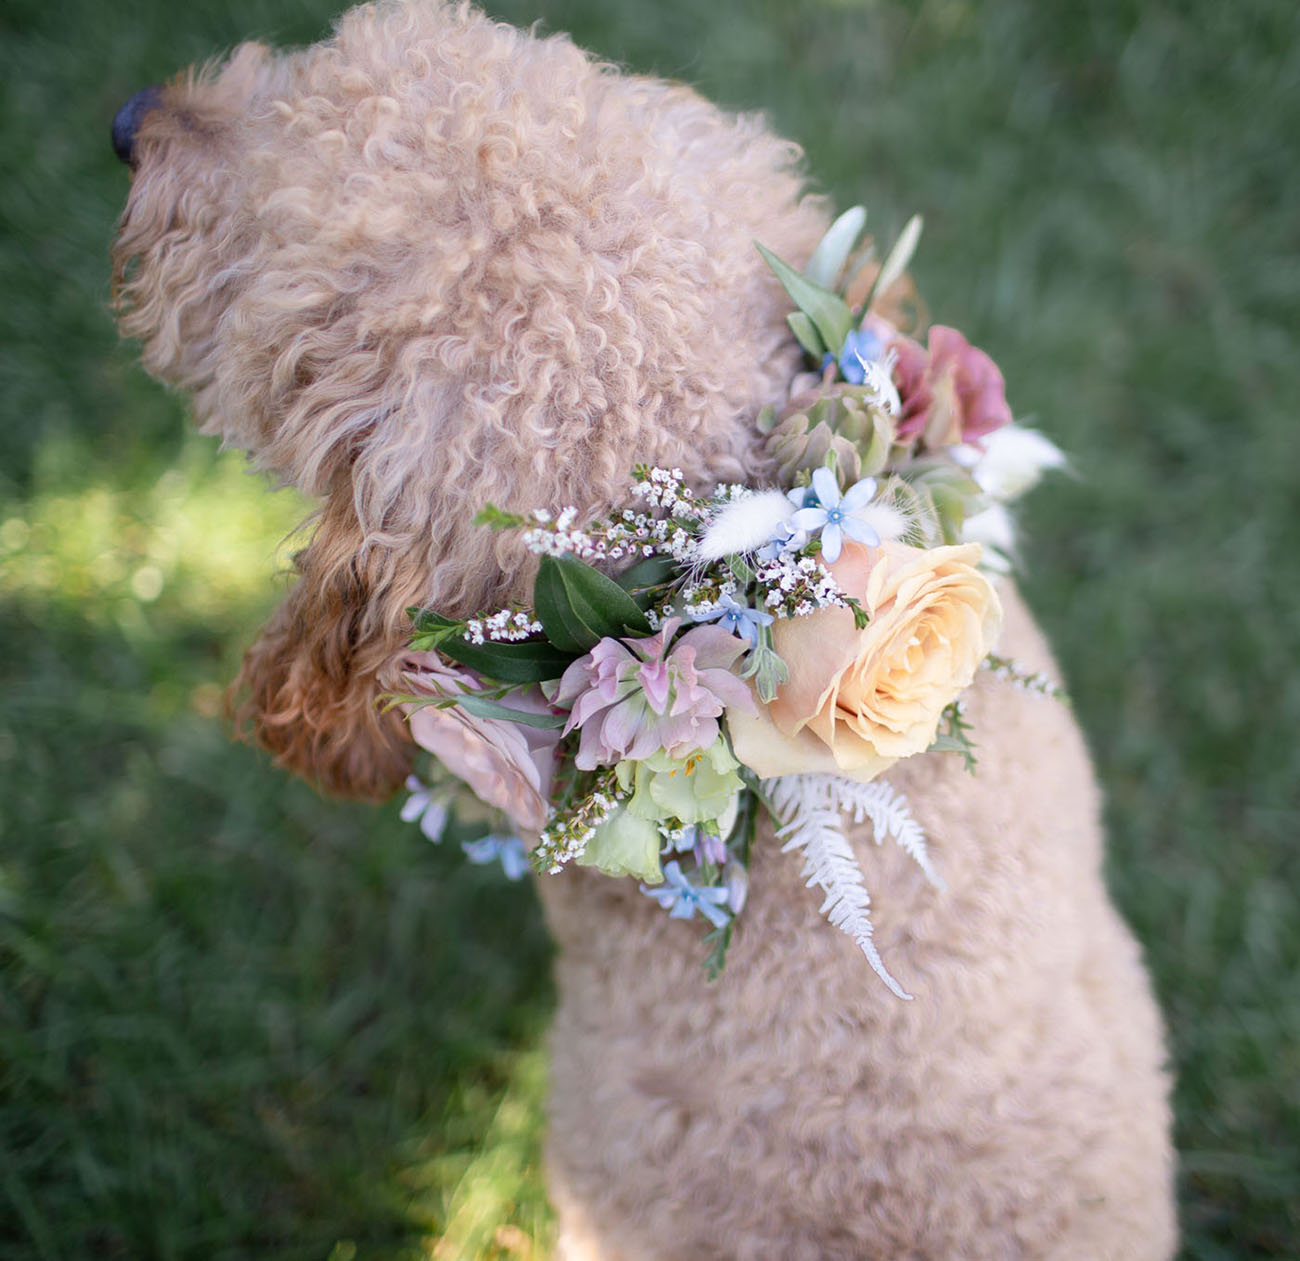
Finishing touches. If you want more detail on your collar you can use more filler flowers or smaller leaves from your greenery to create more depth and composition. We also used some dried bits like the bleached bunny grass and bleached palm fern. You can use dried and dyed material that is trending right now, or you can keep it simple (and beautiful) with greenery and a few blooms. If you want to add in more details we suggest doing it in layers, using one product at a time. Layering in your flowers and greenery will help with the overall design and can help you use less product!
Care tips: Once you are finished with this you’ll need to let the glue dry for at least an hour before putting it on your dog. If you make it the day before we suggest popping it in the fridge so the flowers don’t wilt.
This may go without saying but don’t let your dog eat it or chew on it. One of the reasons we went with an actual dog collar was so that we could design it to be comfortable for the dog as well as safe. The collar is out of reach for any curious tasting/chewing. Don’t let your dog eat the glue.

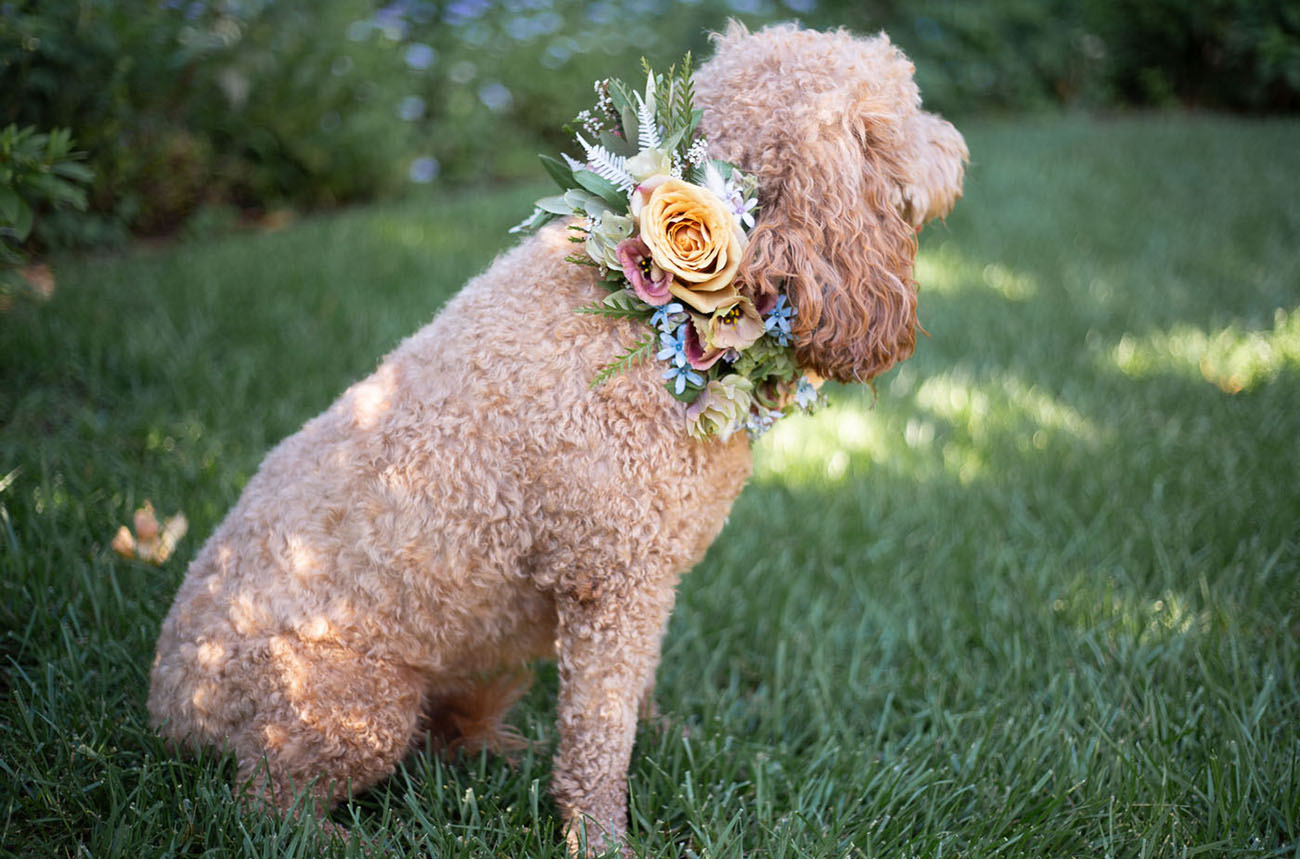
SO ADORABLE!!!


Last but not least! Alison is sharing a video tutorial of the dog collar to walk you through the whole process! Yay!
“You can do this if: You have hands. Literally, ANYONE can do this. I can’t preach it enough. You don’t have to have been a part of the gifted and talented program in grade school to qualify. If you can hold flowers and use a step above the training scissors YOU ARE GOOD TO GO! Just take your time, follow the instructions, and have fun!
Doing your own wedding flowers has never been easier. With Bloom Culture we set you up with a guided approach and a step by step process. We give you flower recipes, supplies list, timeline, tutorials and so much more! We are your one stop shop for all things DIY Flowers and we can ship the flowers directly to your door!”
Thanks so much for sharing, Bloom Culture!
If you make your own floral dog collar, we’d love to see how it turns out, so please share on Instagram along with the hashtag #GreenWeddingShoesDIY. We’ll regram our faves!
Comments
Post a Comment